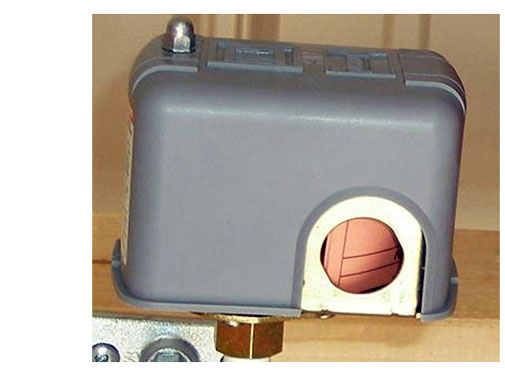
Replacing a Pressure Switch

Shut the power off at the circuit breaker and get yourself some electrical meters and check for voltage to be sure that it is off. You then need to turn on some faucets and drain the tank. When the tank is drained, the gauge on the tank should read zero. Next step is to shut the main valve going to the house get a bucket, put it underneath the spigot on the tank, and open it to drain the water left in the pipe. Next you need to un wire the switch, get both the wires from the panel and the wires going to the pump out of the switch. With a wrench remove the switch and replace it. If the nipple stays in place then put some plumbers tape and pipe dope on the threads and simply screw the new switch on. If the nipple comes off with the switch, remove the nipple from the old switch, tape and pipe dope on both ends of the nipple, and install the new switch. Wire the switch by screwing the leads from the breaker on the outside lead terminal screws and the pump leads on the inside terminal screws. If you have a 30/50 or 40/60 switch you need to adjust the air in the tank so the pressure is 2lbs below the cut in pressure. Once that is all done, shut your drain spigot off at the tank and turn the power back on. The pressure should build to its shut off pressure. Turn the water on slowly to the house and the pressure will start to drop. If all your settings are right, it should cut in at the switches set cut in pressure. Once it cuts in, shut the water off to the house and make sure it builds to the correct pressure.
